Do you own smart home devices, but still feel like your home is dumb? Being able to turn your lights on and off from your phone is fun for a while, but that’s home control, not home automation.
Home automation isn’t about being able to use your phone to turn out the lights. It’s about your lights turning on and off by themselves, without the need for you to interact with them at all. They know when it’s getting dark, they know when you’re in bed, they even know if anyone is at home.
If this sounds like a home of the future, it isn’t. You can have all of that and more by running the right software and creating the right automations. And the best part is that it doesn’t need to cost you an arm and a leg; you can run it all from a cheap single board computer such as a Raspberry Pi.
If you want your home to become truly smart, then read on to learn how to set up Home Assistant on a Raspberry Pi, and how to create your first home automation.
What is Home Assistant?
Home Assistant is home automation software that allows you to integrate and control smart home devices that wouldn’t normally work together. Instead of being tied down to restrictive ecosystems or requiring a small army of different smart hubs to control all your smart home devices, you can integrate a huge number of different devices into Home Assistant and control and automate them all from one place.
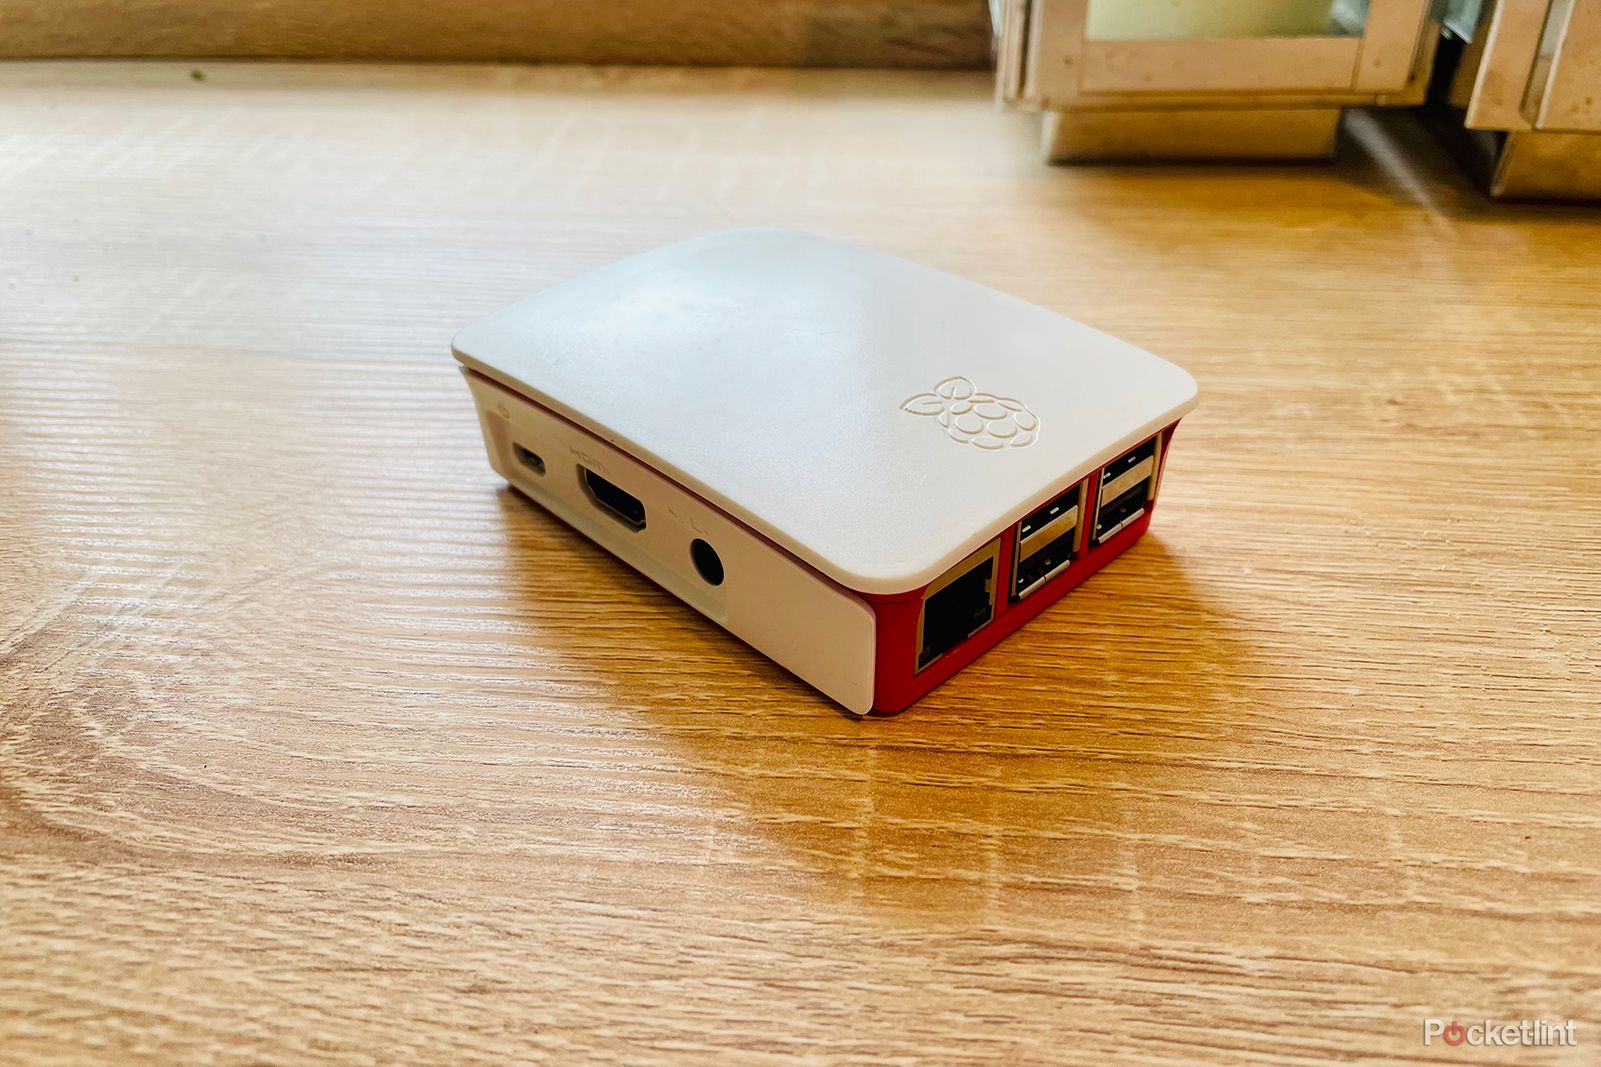
The Home Assistant software is free, and the equipment you can use to run Home Assistant doesn’t need to cost a huge amount either. One of the most cost-effective options is to run it on a Raspberry Pi. We have a comprehensive guide to everything you need right here.
Installing Home Assistant on a Raspberry Pi
The first thing you’ll need to do is write the Home Assistant OS (HAOS) image to your microSD card. You can then run Home Assistant on your Raspberry Pi directly from that microSD card. The simplest way to write the image is to use the free Raspberry Pi Imager software which is available for Windows, macOS, and Linux.
- Download and install Raspberry Pi Imager for macOS, Windows, or Ubuntu. If you’re running a different Linux distribution, you may be able to find a relevant software package available.
- Launch Raspberry Pi Imager.
- Plug your microSD card into a card reader and insert it into your computer or use the dedicated microSD port on your computer if you have one.
- Click Choose OS.
- Select Other specific-purpose OS > Home assistants and home automation > Home Assistant.
- If you’re installing on a Raspberry Pi 4, select Home Assistant OS (RPi 4/400).
- If you’re installing on a Raspberry Pi 3 B or a Raspberry Pi 3 B+, select Home Assistant OS (RPi 3).
- Click Choose Storage.
- Select your microSD card.
- Click Write and the Home Assistant OS will be written to the card.
- Eject the SD card and insert it into your Raspberry Pi. The microSD slot is at the opposite end to the USB and Ethernet ports.
You’re now ready to start up Home Assistant.
Starting Home Assistant for the first time
Once your SD is written and installed in your Raspberry Pi, you’re ready to start Home Assistant. The initial configuration can take some time; when everything is set up, booting Home Assistant usually takes a minute or so.
- Plug your Ethernet cable into the Ethernet port of your Raspberry Pi.
- Plug the other end of the cable into an Ethernet port of your router.
- Connect the power supply and power the Raspberry Pi on.
- You’ll need to wait for the initial stages of set up to complete. After a few minutes, visit http://homeassistant.local:8123/ on any device that is connected to the same network as your Raspberry Pi.
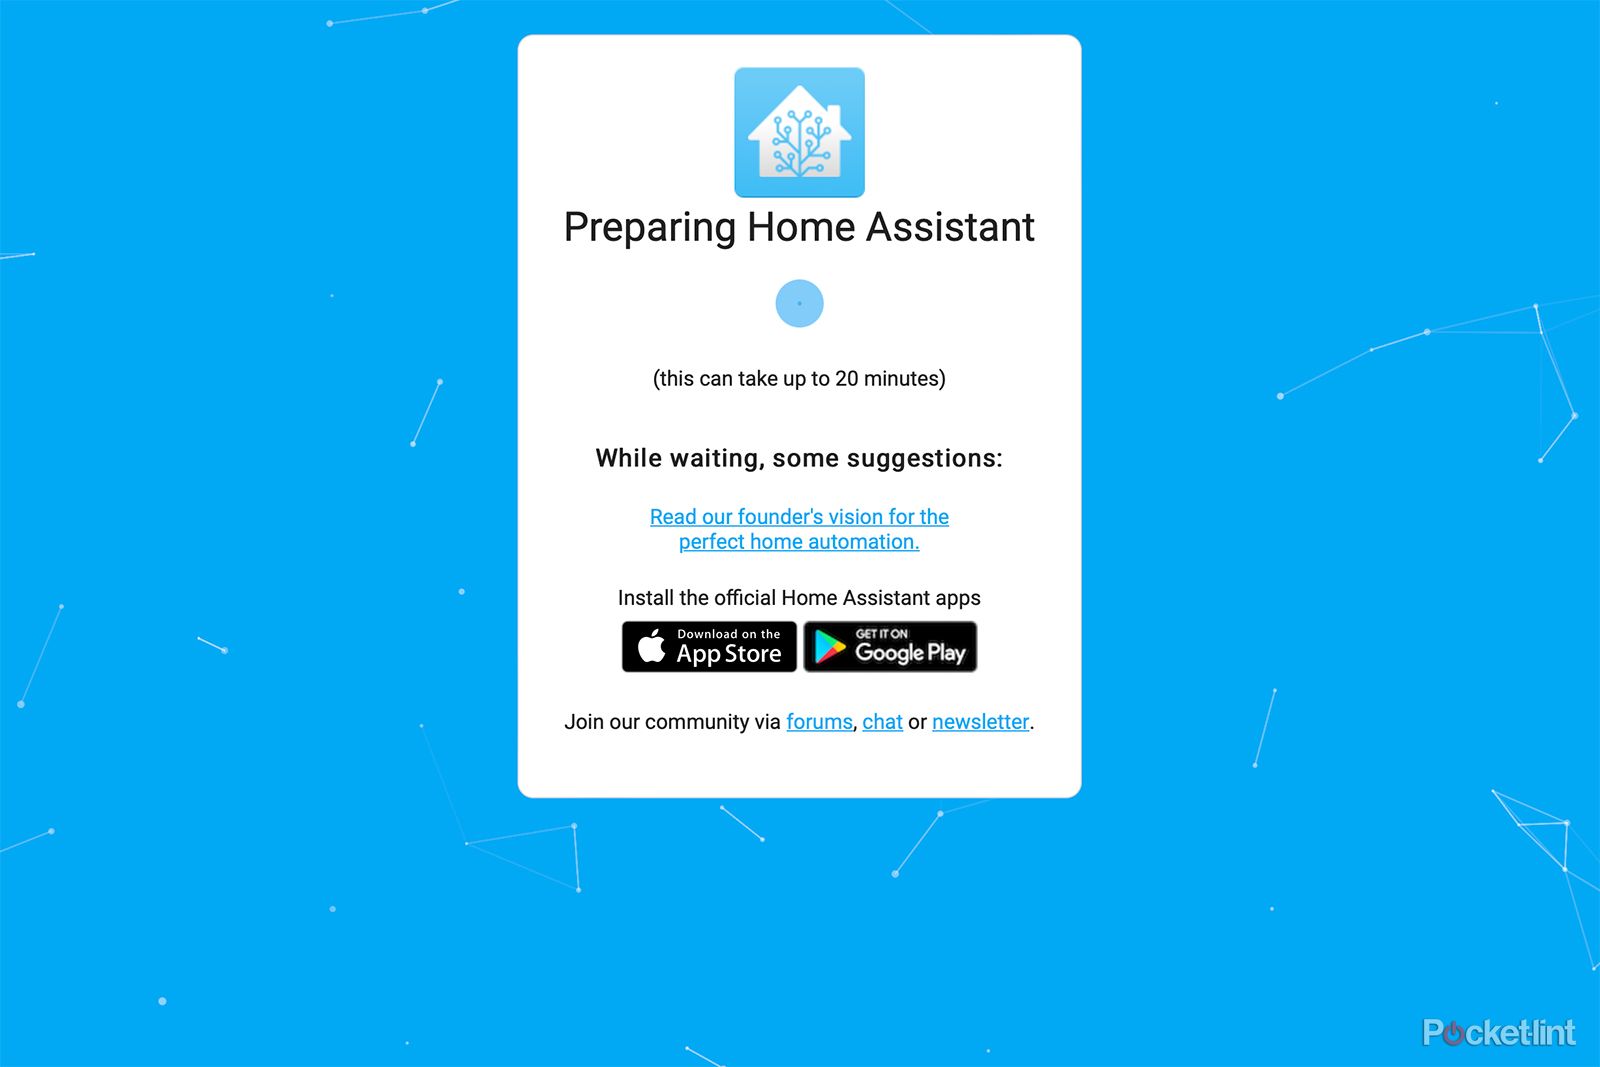
- You should see a splash screen that reads Preparing Home Assistant.
- You’re likely to be stuck on this page for some time. It’s supposed to take around 20 minutes for Home Assistant to initialise, but it can take longer.
If you’re concerned that nothing is happening, click the blue dot just below Preparing Home Assistant. This will allow you to see the currently running processes and confirm that the set-up is in progress.
Eventually, you should see the screen where you can set up your Home Assistant account.
Setting up your account
You’ll need to set up your account with your name, as well as a username and password for your account. Using a strong password is highly advised. It also makes sense to use at least your real first name as this will be the default name used for presence detection.
On the next screen, you can give your installation a name, set your location and time zone, and your preferences for units of measurement. An accurate location is important, especially for automations that use local times or events, such as sunrise and sunset.
Finally, you can decide whether to share anonymised analytics data with Home Assistant. By default, you’re opted out of all sharing.
Now that the admin is out of the way, you’re ready to start adding devices to Home Assistant.
Adding smart devices to Home Assistant
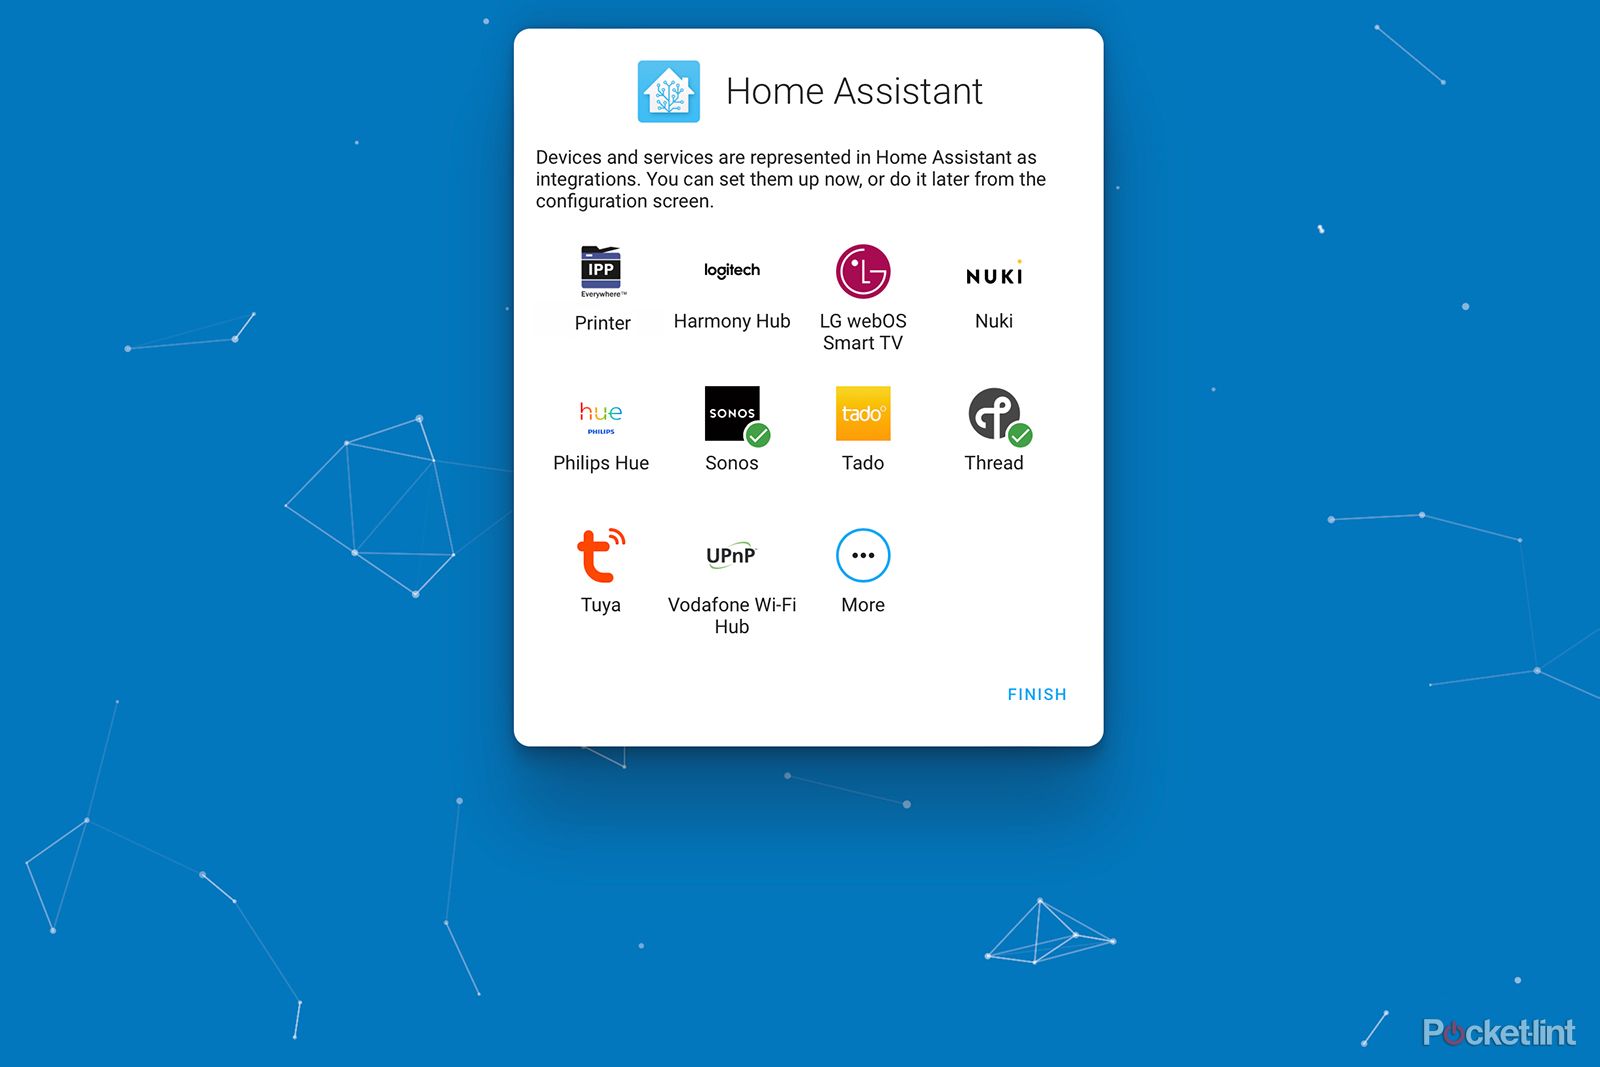
After you’ve finished setting up your account, you’ll see a screen listing all the devices that Home Assistant has discovered on your home network.
- Click any of the integrations to set them up before you plunge into the main Home Assistant web interface.
- If you prefer, you can just click Finish to complete your set-up and add your integrations later.
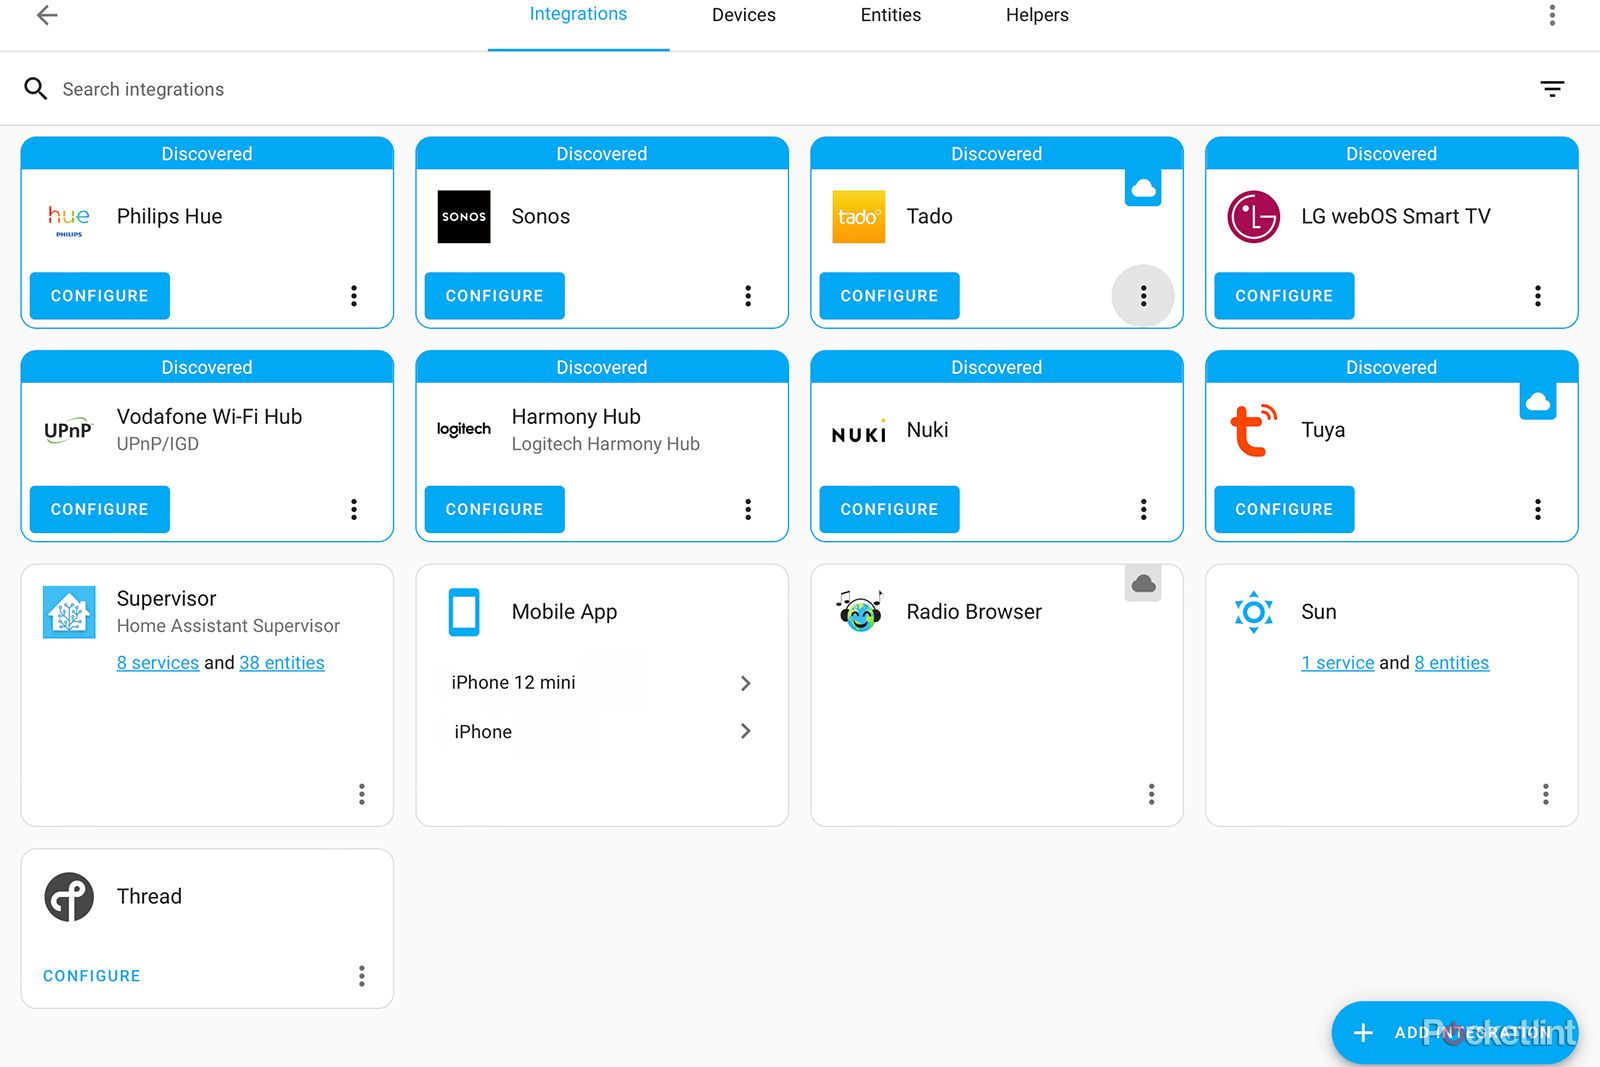
- If you don’t add any integrations during the set-up process, you can find them by clicking Settings > Devices & Services.
- Under the Integrations tab, the integrations for any devices that have been discovered on your network will appear, with a Configure button on each.
- Click Configure and follow the instructions to set up that integration.
- For the Hue integration for example, all of your Hue lights should now be discovered. You can give each one a specific name, and set which area of your home its located in. This is useful for controlling multiple lights at once by telling Home Assistant to turn off the bedroom lights, for example.
- When you’ve done so, the devices will be added to the Overview page.
By default, the Overview dashboard shows most of the entities that are created when you enable an integration; you can choose to take control of your dashboard and edit what entities appear and how they are laid out.
You can create multiple dashboards for different uses. If your home has a lot of smart lighting, for example, you might create a dashboard purely to display and control the state of your lights.
In the Integrations tab of Devices & Services page, you can also click Add Integration to search for additional integrations. Some of these allow you to connect other smart home kit, but others allow you to connect to services such as Plex or Coinbase, or can provide useful information for home automation, such as local weather.
You can also download and install the Home Assistant mobile app. This allows you to access Home Assistant from your phone, but also means that your phone now becomes a device tracker. With the relevant location permissions, you can now use your phone to help Home Assistant determine whether you’re home or not.
Once you’ve configured some integrations and have some smart home devices connected to Home Assistant, you’re ready to step into the world that is the heart of Home Assistant and build your first automation.
Creating your first Home Assistant automation
Home Assistant was first created because its founder, Paulus Schoutsen, wanted to set up an automation for his newly purchased Philips Hue lights. He wanted to be able to make the lights turn on automatically when the sun set.
Since this is the automation that ultimately led to the Home Assistant software used by hundreds of thousands of people around the world, it’s a perfect way to show how to create an automation in Home Assistant. This specific automation requires you to have Philips Hue bulbs and for you to have configured the Hue integration which pairs your Philips Hue Bridge with Home Assistant. If you don’t have any Hue lights, however, you can make the Action of the automation anything you wish, such as sending a notification or turning on a smart plug.
- Click Settings > Automations & Scenes.
- In the bottom right-hand corner, click Create Automation.
- Select Create New Automation.
- Click the Add Trigger button.
- From the Trigger options, select Sun.
- Under Event select Sunset.
- The Trigger should now read When the sun sets.
- Click Add Action.
- Select Call Service. This is the action that allows you to send a command to one of your connected integrations.
- Under Service start typing the word light. When it appears, select Light: Turn on from the options.
- Under Targets select Choose entity.
- Select the light that you want to turn on.
- You can repeat these steps to add as many different lights as you wish.
- Alternatively, to turn on all the lights in a specific room, select Choose area. You will need to have allocated lights to specific areas of your home when you set up the Hue integration.
- Ensure the bulbs you want to control have power; you’ll need to turn them off in Home Assistant or the Hue app rather than by the light switch.
- Wait for sunset, and the lights you selected should magically turn on.
- You can make this automation more powerful by adding conditions; click the Add Condition button to do so.
- Select Zone as the condition.
- Under Entity with location select a device tracker, such as the phone on which you installed the Home Assistant app.
- Under Zone, select Home.
- Now if you’re away from the Home zone at sunset, the lights won’t come on.
You can add more and more complexity to your automations with multiple triggers, conditions, and actions. Whilst it’s possible to build a huge number of automations directly within the UI, for the more complex automations you may need to create or edit the automation in YAML which is the syntax used to configure Home Assistant. You can also install the Node Red add-on, which allows you to build complex automations using a visual flow-based editor.
Now you’ve got your first automation up and running, the limit is really just your own imagination. If you need inspiration, check out the Home Assistant forums to see the types of automations that other Home Assistant users are creating. All you need is the right smart home gear and can build the automations you want and start to make your home truly smart.


